An Abundant Time of Year: How-to Food Preservation
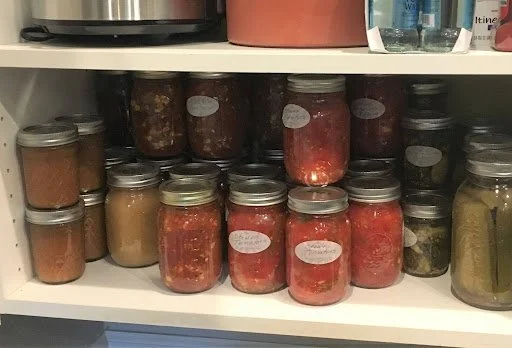
The sights and scents of summer will be recalled as jars of home-canned fruits and vegetables are opened in the coming winter. Preserving food is more than just filling the larders for winter consumption—it is an elixir for the soul. Not only is the food good for the body, but homemade strawberry jam on warm toast or crisp garlic pickles alongside a hearty sandwich is one of the best prescriptions for keeping the winter doldrums at bay.
Pickling
Pickling is an easy way to preserve extra produce from the garden. There is nothing quite like pulling a fresh jar of dilly beans to enjoy with summer potato salad, a jar of pickled beets to enjoy with Thanksgiving turkey, or freshly opened chowchow (garden relish to those not from the South) to serve on cooked pinto beans or a bratwurst. Pickling has been around for thousands of years as a way to preserve food using acid. All it takes to make pickles is a few ingredients: fresh vegetables, vinegar, salt, and sugar (if desired).
Although pickled cucumbers are the gold standard, just about anything can be pickled: green beans, beets, cucumbers, hot peppers, cauliflower, onions, carrots, zucchini, and okra. And this doesn’t include the relishes, salsas, and chutneys that can be pickled. Don’t be afraid to combine vegetables like corn, onions, and sweet red peppers for a beautiful confetti of taste. Experiment! Pickled vegetables are preserved by the vinegar and salt used in pickling. They don’t need to be pressure-processed, but they can be placed in a boiling water bath for a specified time or simply pickled in the refrigerator.
How to make an easy, salty brine:
2 cups water
1 cup white or apple cider vinegar
2 tablespoons kosher or pickling salt (avoid table salt to prevent cloudiness)
2 tablespoons sugar (optional, for balance)
2–4 cloves garlic, smashed (optional)
1 teaspoon black peppercorns (optional)
1 teaspoon mustard seeds (optional)
Fresh herbs (dill, thyme, or rosemary) or spices as desired
Combine water, vinegar, salt, and sugar in a saucepan. Add garlic, peppercorns, mustard seeds, and herbs if using.
Bring to a simmer, stirring to dissolve salt and sugar.
Taste and adjust salt, sugar, or vinegar for balance—not too sour, salty, or sweet.
Pour hot brine over prepared vegetables in jars, leaving appropriate headspace.
Seal and process as needed, or cool and refrigerate for quick pickles.
Adding a touch of sugar balances the sharpness, and optional aromatics add more complexity, but the process is as easy as ever. Adjust spices and herbs to suit any vegetable or personal preference.
Pickled Dilly Beans Recipe
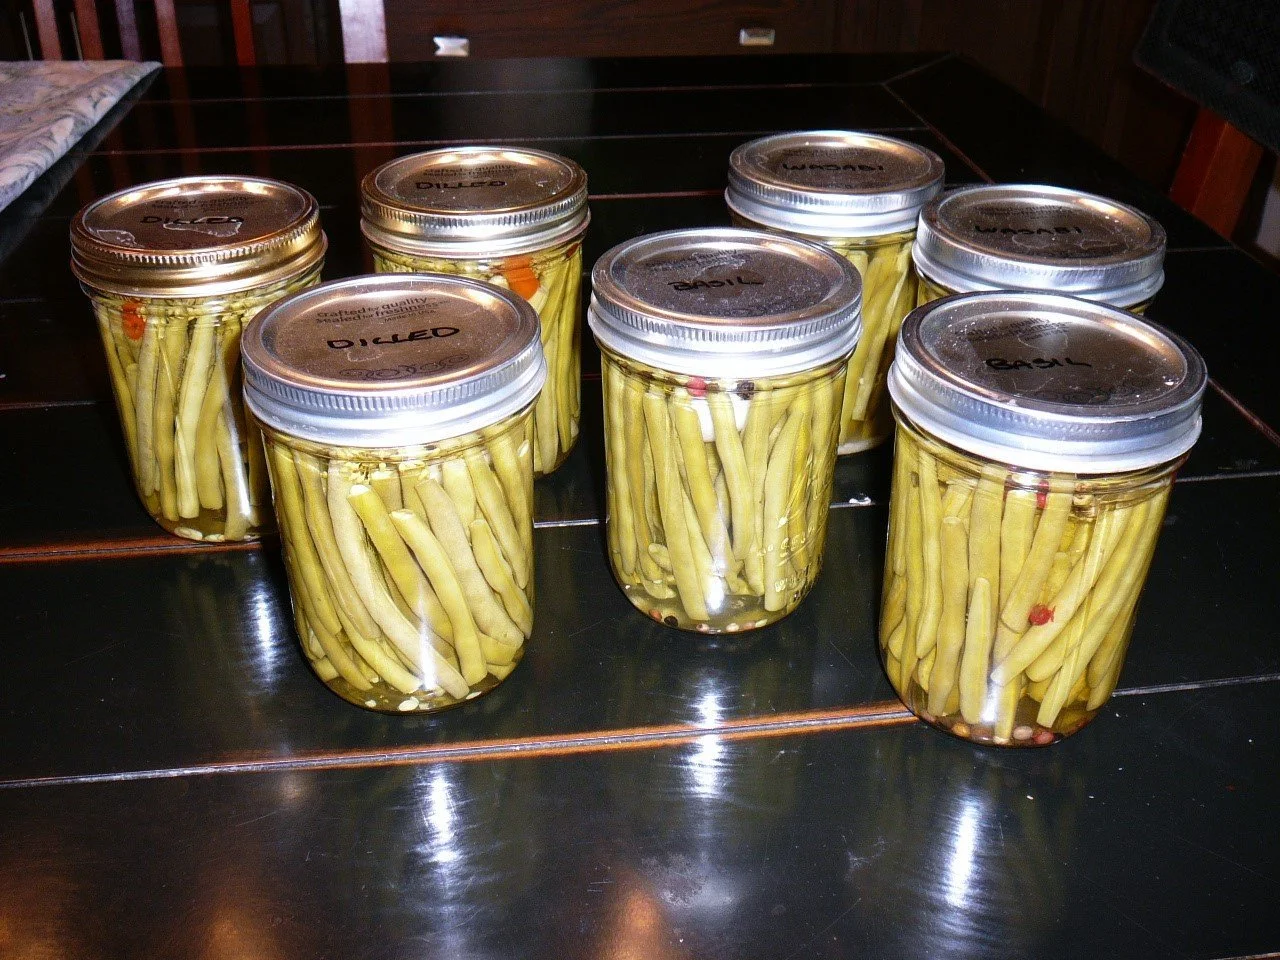
Fill pint jars with fresh young green beans, topped but not tailed. Add the following to each jar:
2 cups water
1 cup vinegar (white, apple cider, or rice vinegar)
2 tablespoons kosher or pickling salt
2 tablespoons sugar (optional, but balances acidity)
2–4 cloves garlic, smashed
1 teaspoon black peppercorns
1 teaspoon mustard seeds
½ teaspoon crushed red pepper (optional, for a little heat)
Fresh dill or other herbs (optional)
Combine water, vinegar, salt, sugar, garlic, peppercorns, mustard seeds, and crushed red pepper in a saucepan.
Bring to a gentle boil, stirring until salt and sugar dissolve.
Pour hot brine over vegetables packed in jars, adding dill or herbs if desired. Leave proper headspace.
Seal jars and let cool. Refrigerate for quick pickles, or process in a boiling water bath if canning for shelf storage.
This recipe uses basic ingredients, but the addition of garlic, peppercorns, and herbs makes the brine more aromatic and flavorful. The process is simple, and it can be adapted for any vegetable—cucumbers, green beans, carrots, or peppers. Adjust sugar and vinegar for your preferred balance of tang and sweetness. It’s easy, reliable, and delivers consistent results with plenty of flavor.
Salsas
Salsas are similar to pickles but are preserved with only a little vinegar instead of being submerged in brine. Again, feel free to change the ingredients, but make sure not to leave out the vinegar, as this preserves the salsa.
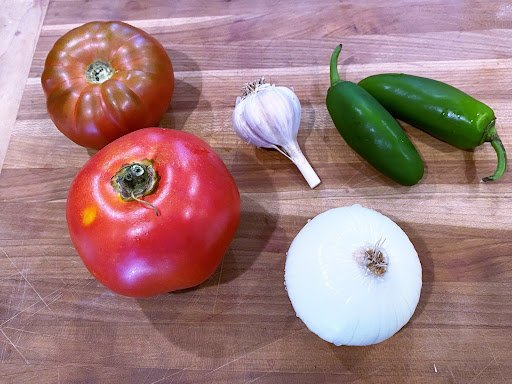
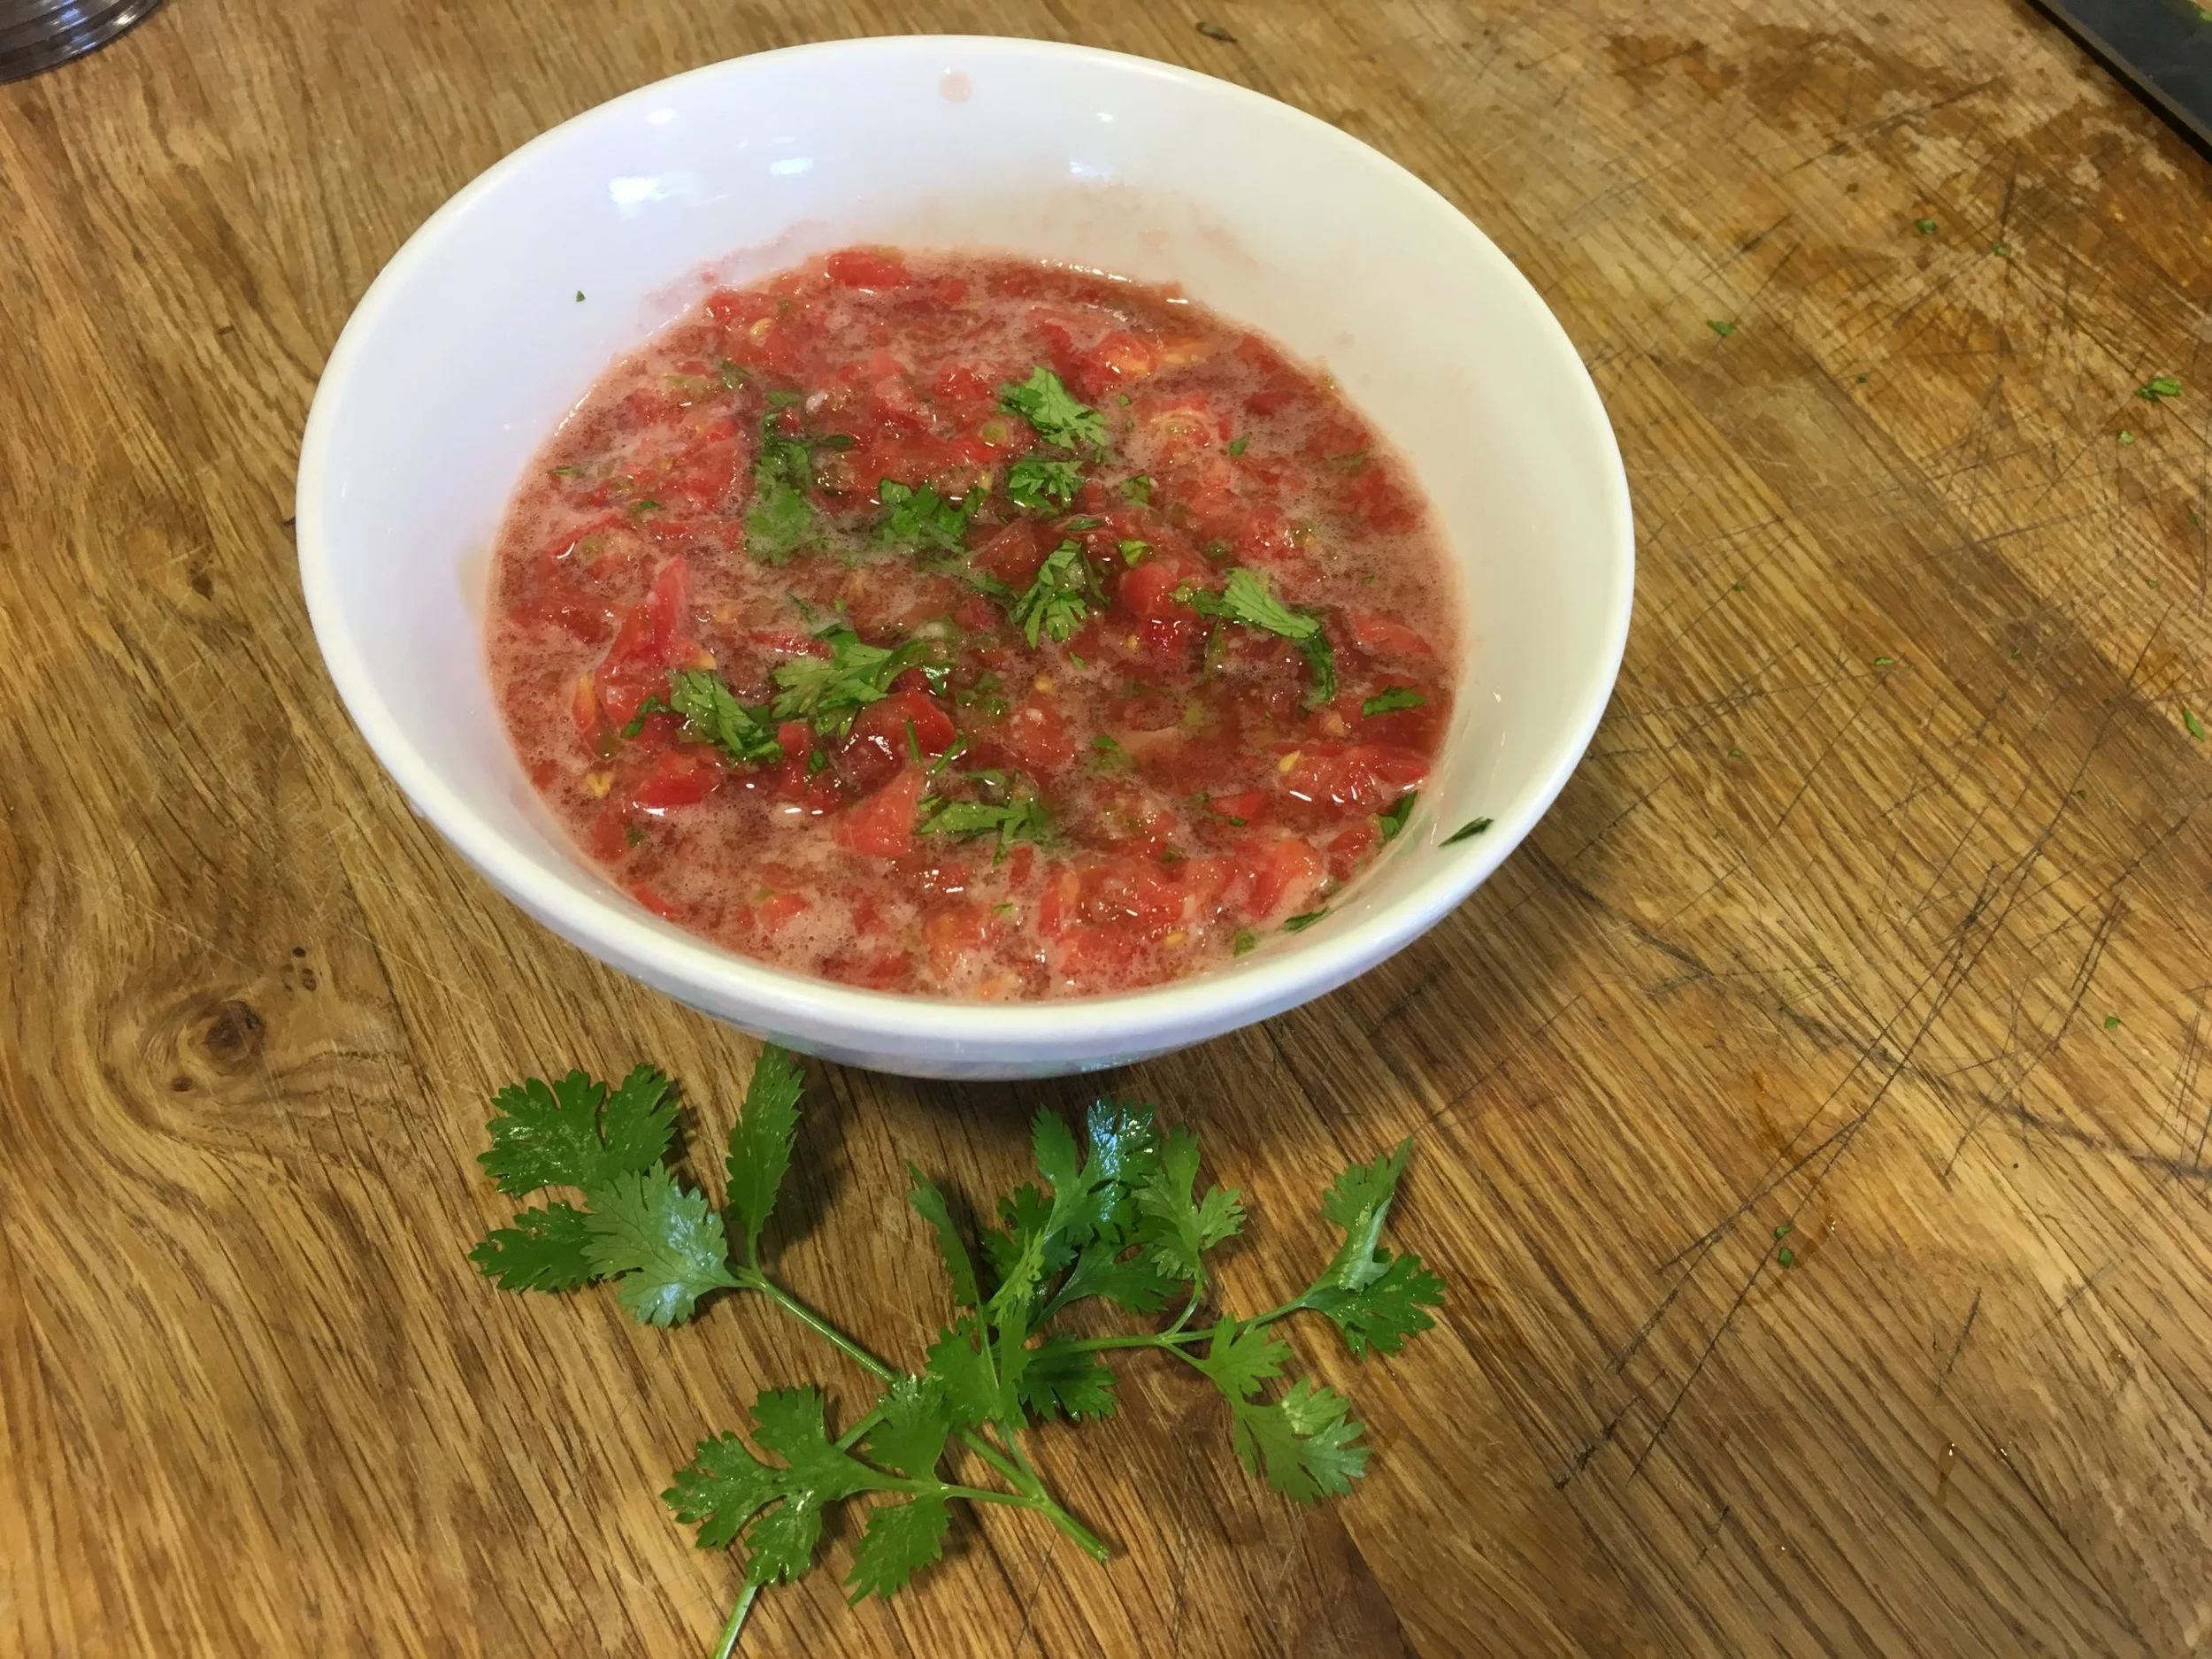
Salsa Cruda Recipe
3-4 ripe tomatoes, finely chopped
1 small onion, finely chopped
1 chili pepper (jalapeño or serrano), minced (remove seeds for less heat)
1 clove garlic, minced
1 tablespoon lime juice or white vinegar
Salt to taste
Mix all ingredients in a bowl. Taste and adjust salt or acid as needed. No need to cook—just let it sit for 10-15 minutes so the flavors meld. Serve fresh with tortilla chips or as a topping for tacos and grilled meats. This recipe skips the heating, keeps everything fresh, and uses just a few ingredients. It’s classic and quick, letting the taste of ripe tomatoes shine.
Fruit Butters
Fresh, hot scones or biscuits slathered with spicy apple or plum butter? It’s absolutely to die for! Fruit butters are simple to make and just take a little time to cook down. If done in a slow cooker, it’s safe to walk away and let it do its job.
Making Fruit Butters
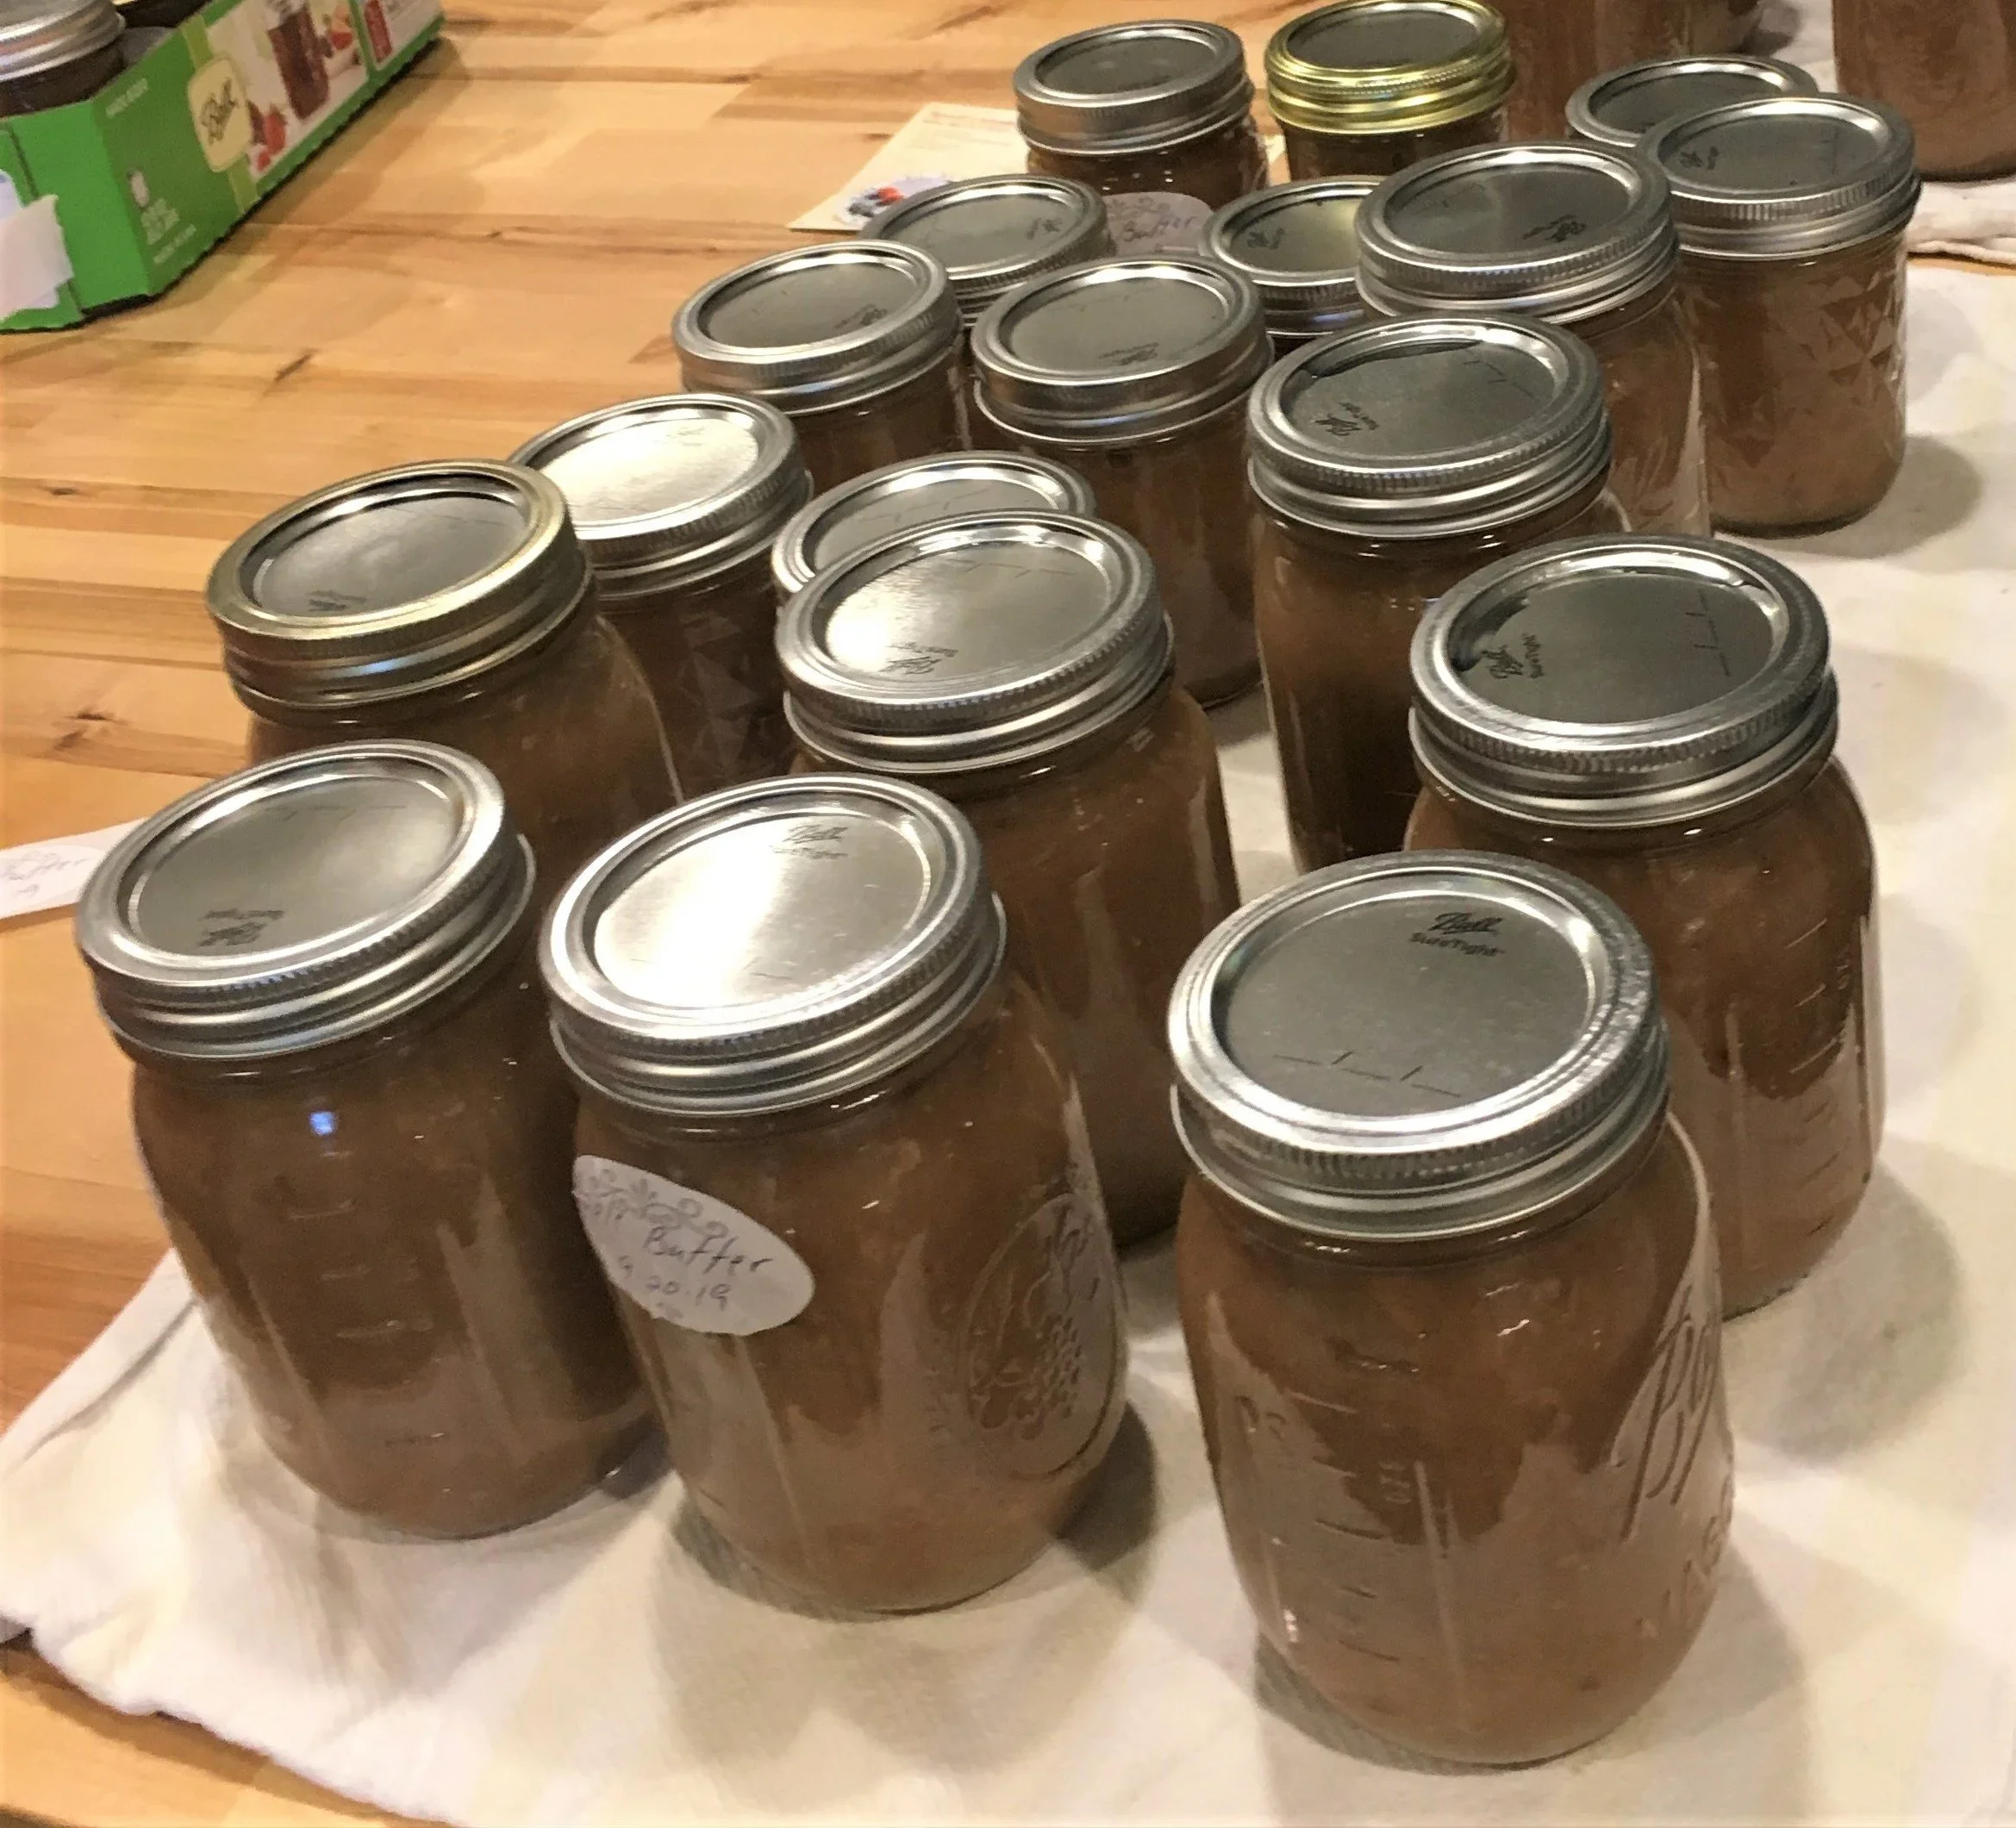
All butters start with a sauce. Whenever there is extra fruit, it can be sliced or quartered and tossed into a pot with a bit of water or cider to cook down. The softened fruit is then run through a mill (which separates the seeds, peels, and cores) to produce a delicious sauce, ready to be turned into butter (or drizzled over ice cream). Most fruits have their own sweetness, especially when cooked down. Sugar is not usually necessary, but any sweetener can be added if desired (sugar, honey, or agave syrup).
Butter can be made in the oven or in a slow cooker. Place the sauce in the chosen vessel, season to taste (ginger, mace, cloves, nutmeg, cinnamon), and set the slow cooker on low for several hours, stirring occasionally. If using the oven, use a heavy roasting pan set to 225 degrees. Check periodically, stirring, and when the mixture reaches the desired thickness, remove it from the oven. The butter can then be refrigerated for immediate use or placed in clean, hot canning jars, sealed with fresh lids, and processed in a boiling water bath.
Ingredients for Basic Apple Butter & How to Make
¼ bushel apples (about 10 lbs)
2 cups sugar (or adjust to taste)
4 cups cider (make applesauce with cider)
2 teaspoons cinnamon
2 teaspoons ground cloves
1 teaspoon ground allspice
1/2 teaspoon salt
Combine apples and cider in a large pot. Cook over medium heat until apples are soft, stirring frequently.
Puree the mixture using a food mill or blender.
Return the puree to the pot, add sugar and spices, and cook over low heat, stirring often, until thick and spreadable (1–2 hours). Add more cider as necessary to prevent sticking.
Taste and adjust spices or sugar as desired.
Process hot apple butter in sterilized jars using a boiling water bath for 10 minutes for shelf storage.
This recipe adds more spice and sweetness options for a richer, smoother apple butter.
Crockpot Plum Butter
4 pounds ripe plums, pitted and quartered
1½–2 cups sugar (to taste)
1 tablespoon lemon juice
1 teaspoon cinnamon
½ teaspoon ground ginger (optional)
¼ teaspoon ground cloves
¼ teaspoon salt
Place plums in a large slow cooker. Add lemon juice.
Cook on high for 2 hours with the lid slightly ajar, stirring occasionally.
Puree the softened plums with an immersion blender (or cool slightly and puree in batches in a blender), then return to the crockpot.
Add sugar, cinnamon, ginger (if using), cloves, and salt. Stir well.
Cook uncovered on low for 6–8 hours, stirring occasionally, until thick and spreadable. (Uncovering allows moisture to evaporate and thickens the butter.)
Taste and adjust sugar or spices as desired during the last hour.
Once thickened to your liking, ladle hot plum butter into sterilized jars. Process in a boiling water bath for 10 minutes for shelf storage, or refrigerate for immediate use.
Cooking uncovered is key for a rich, concentrated flavor and proper thickness. Adjust the sugar to match the sweetness of plums being used. Adding ginger gives a subtle warmth, but is optional. This slow-cooker method is hands-off, prevents scorching, and beautifully concentrates the plum flavor.
Tomatoes
When tomatoes are abundant, it is helpful to preserve a few for winter use. Canning tomatoes is a science, and it can be done, but it must be followed exactly according to the directions to avoid problems with the final product. The books “Putting Food By” or “The All New Ball Book Of Canning And Preserving” provide detailed instructions for doing this correctly. To avoid spoilage, one recommended way to preserve tomatoes is to keep a bucket in the freezer and simply wash the tomatoes, then put them in the bucket. When making sauce, salsa, or other tomato-based dishes, some tomatoes can be removed and rinsed under warm water, which helps the skins slip off. Once thawed, they can be chopped and used like canned tomatoes, but with a fresher taste.
Cherry Tomato Sugar Bombs Recipe
Cut cherry tomatoes in half and place on a well-oiled cookie sheet. Drizzle the tops with more oil (olive oil is delicious, but you can use any high-quality oil). Put them in a 275 oven and bake for 2-4 hours. Check every half hour or so and give the pan a shake to loosen them. No need to turn it over. When they are leathery, remove them from the oven and refrigerate (if you don’t eat them all first!)
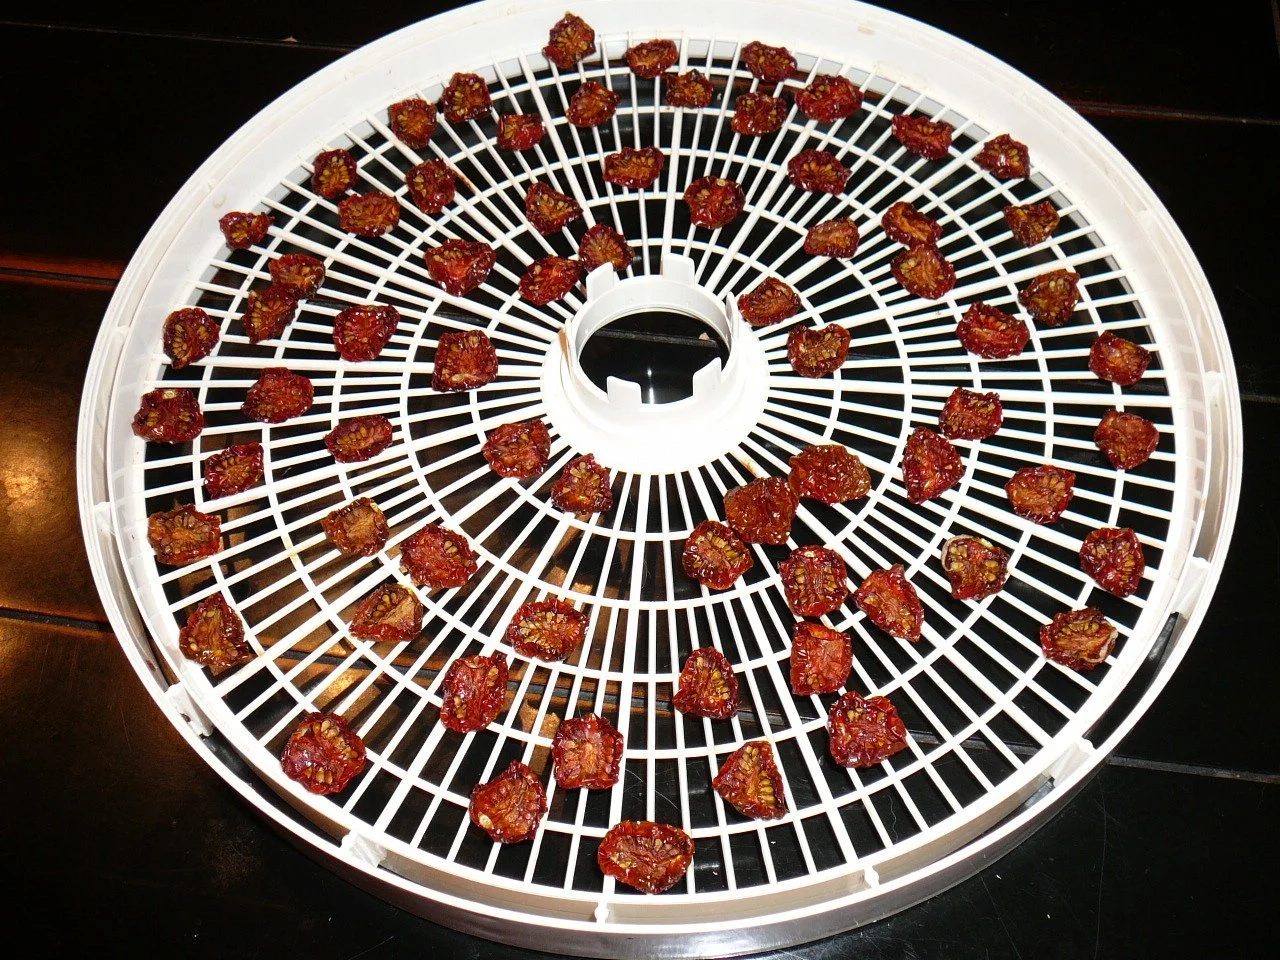
Homemade “Sun-dried” Tomatoes Recipe
If a dehydrator is available, simply slice cherry tomatoes in half or large tomatoes into slices. Remove as much of the pulp and seeds as possible. Dehydrate for six to eight hours. When fully dry and crisp, simply put them in a jar in the cupboard. Rehydrate by simmering in a very small amount of water. Use on pizza, in pasta, or on sandwiches.